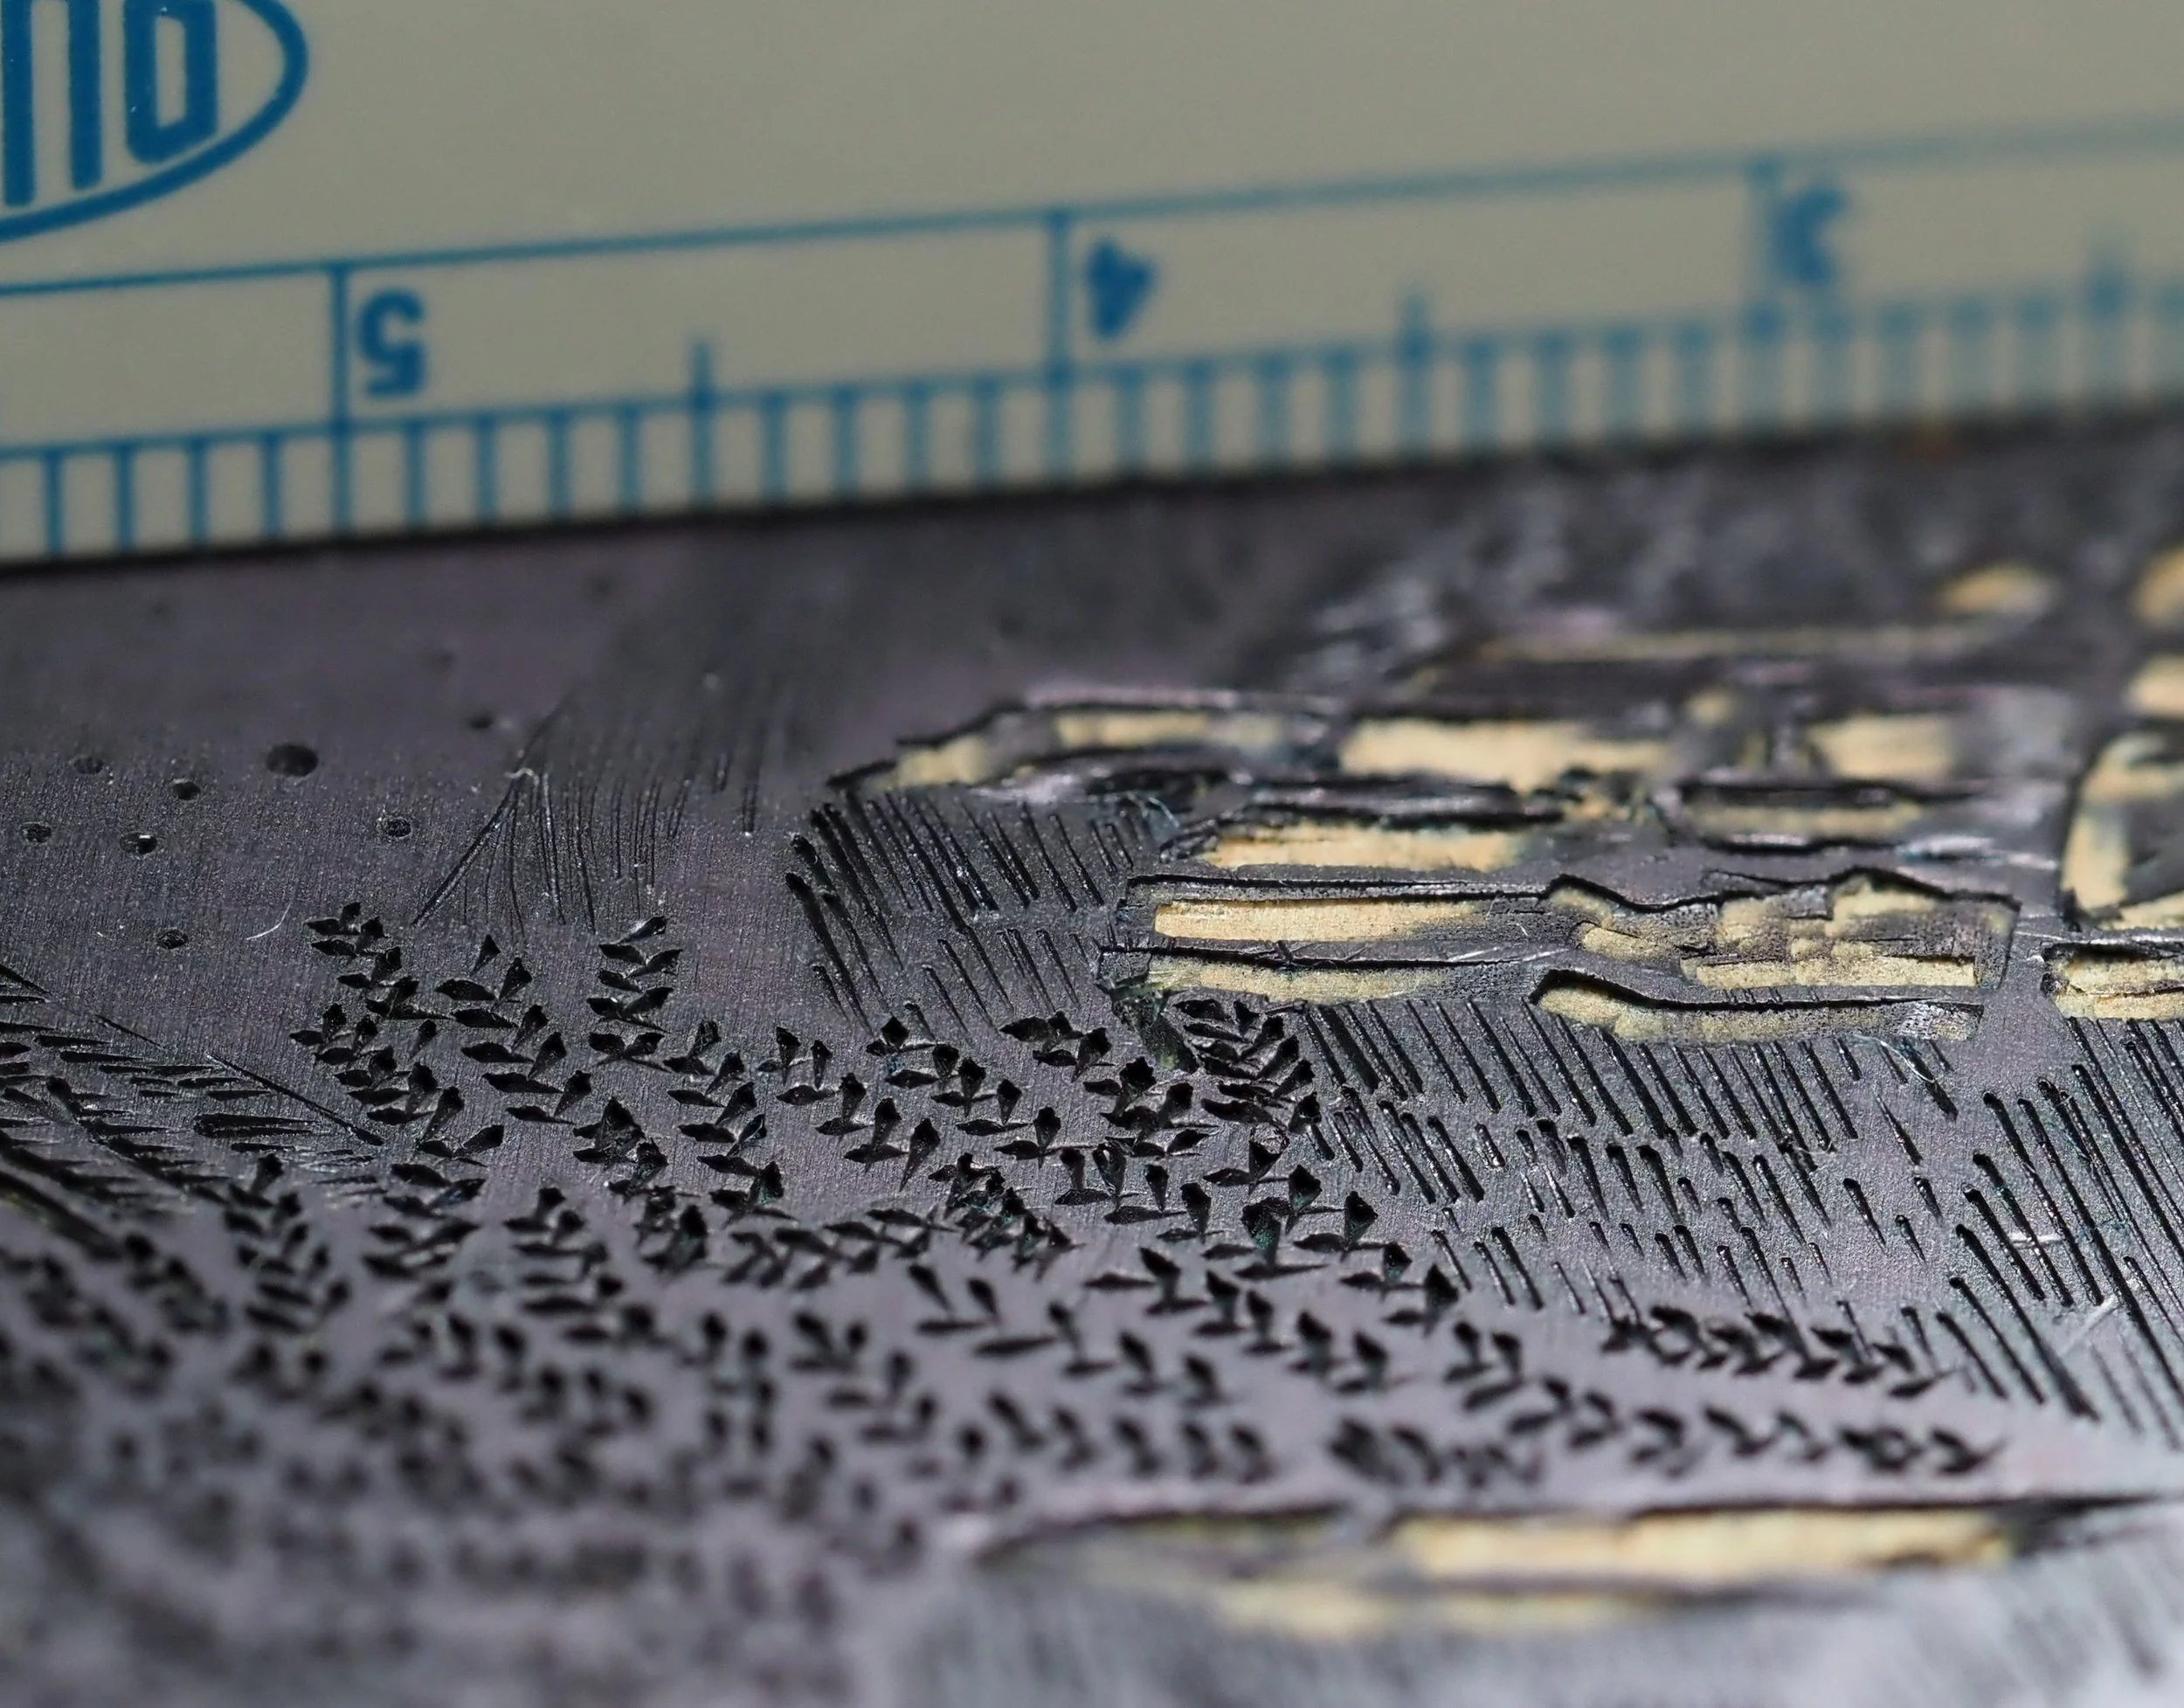
Multi-block, multi-colour wood engraving and printing. First steps, stumbles and changes of plan - as they happen.
27 May 2026 Day One
Image choice and basic engraving and printing plan
I decided to work on a small block size (65x50mm) so mistakes are not too costly - block cost is a function of wood species and the area of the worked surface. I’ll use lemonwood, which is expensive but retains fine detail.
I’ve chosen one of my photos of Byland Abbey for its compositional simplicity and because I have already made one engraving of it, giving me a feel for how to approach it. The new engraving will be half the size and cover more of the image so necessarily less detailed.
The basic concept of wood engraving is to remove all areas of the polished surface of the block that you do not want to print (‘remove’ means lower by as little as a fraction of a mm). Ink the remaining polished wood surface, usually with a single colour but sometimes more, and transfer to paper in a press or by hand burnishing. The final print may have from one to many printed layers from one or more blocks.
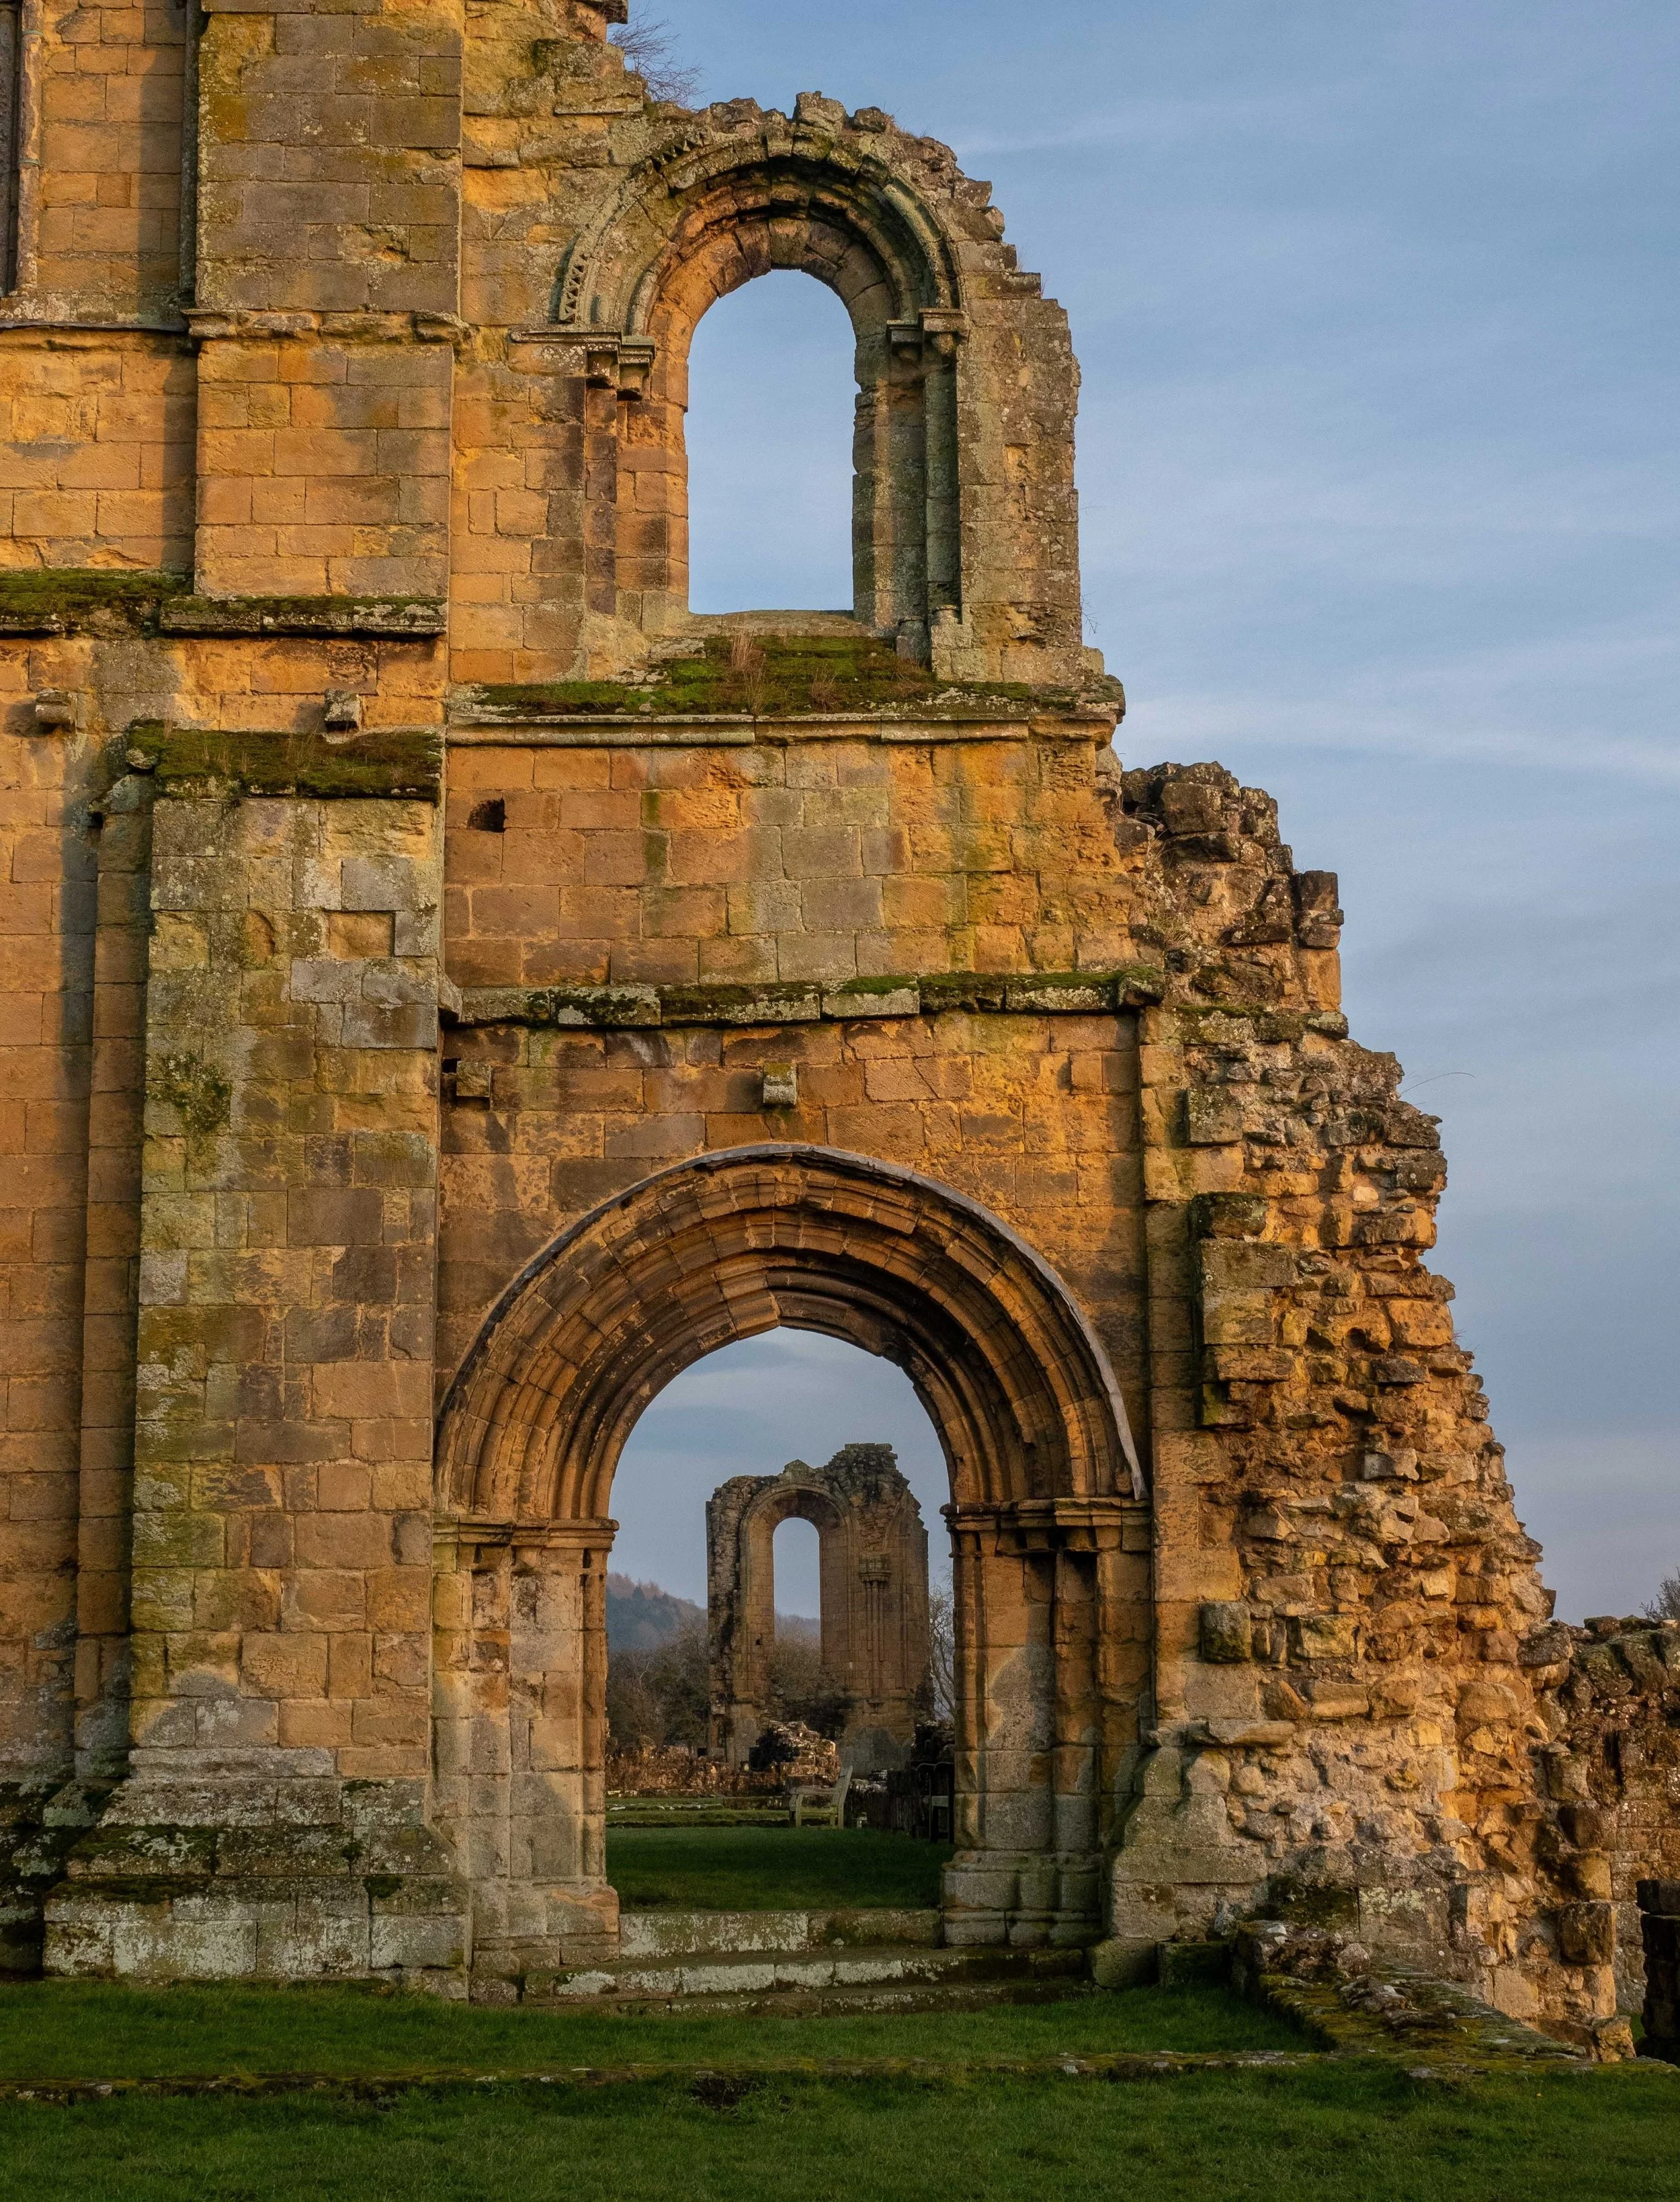
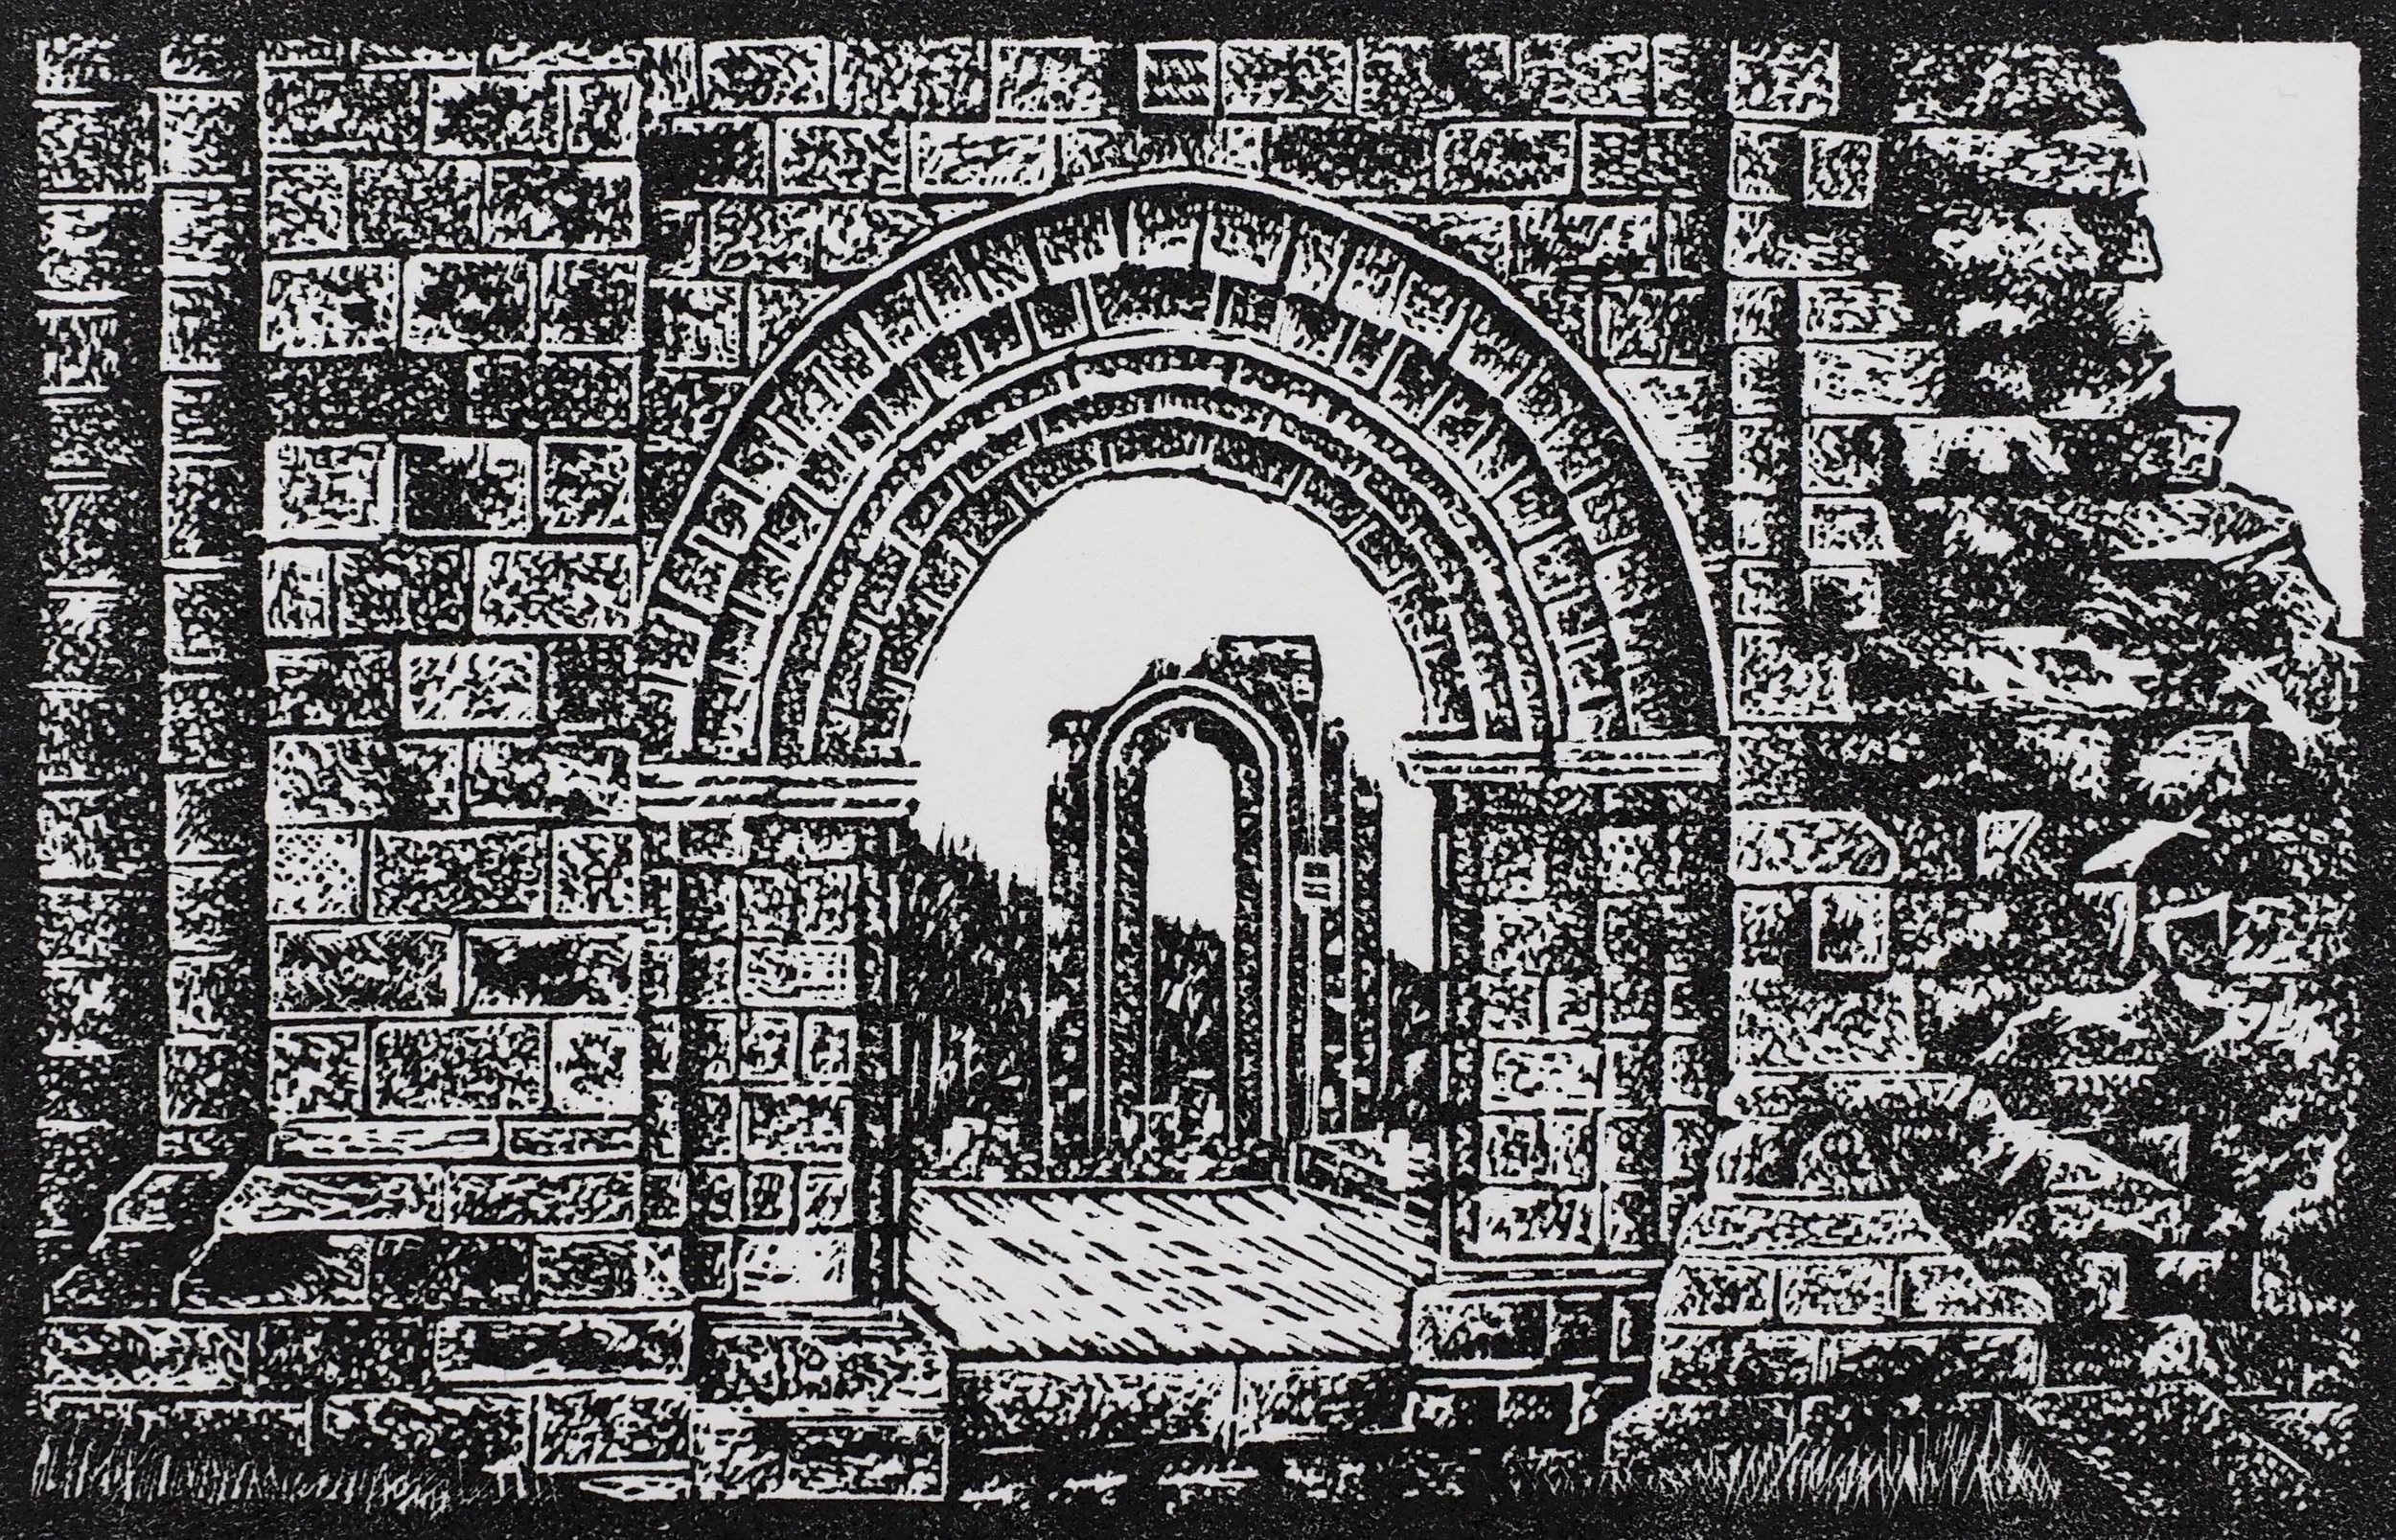
Initial layering plan
Block/Print Layer 1: cut away everything but blue sky, green ground.
Block/Print Layer 2: cut away sky and ground entirely, i.e. leave only stonework to be printed as single block of pale stone. Alternatively leave some features of sky and ground to print in different colours e.g. cloud, grass texture, shadows. These must not be adjacent to each other or the stonework, since this would make inking difficult at sharp boundaries.
Block/Print Layers 3, 4, 5: layers of varying distribution, colour and intensity to recreate weathered stonework and shadows. It should be possible to ink a block with two or more shades/textures in each layer.
Block/Print Layer 6: a final layer to put in deep shadows and lines to pull the final image together and give it some punch.
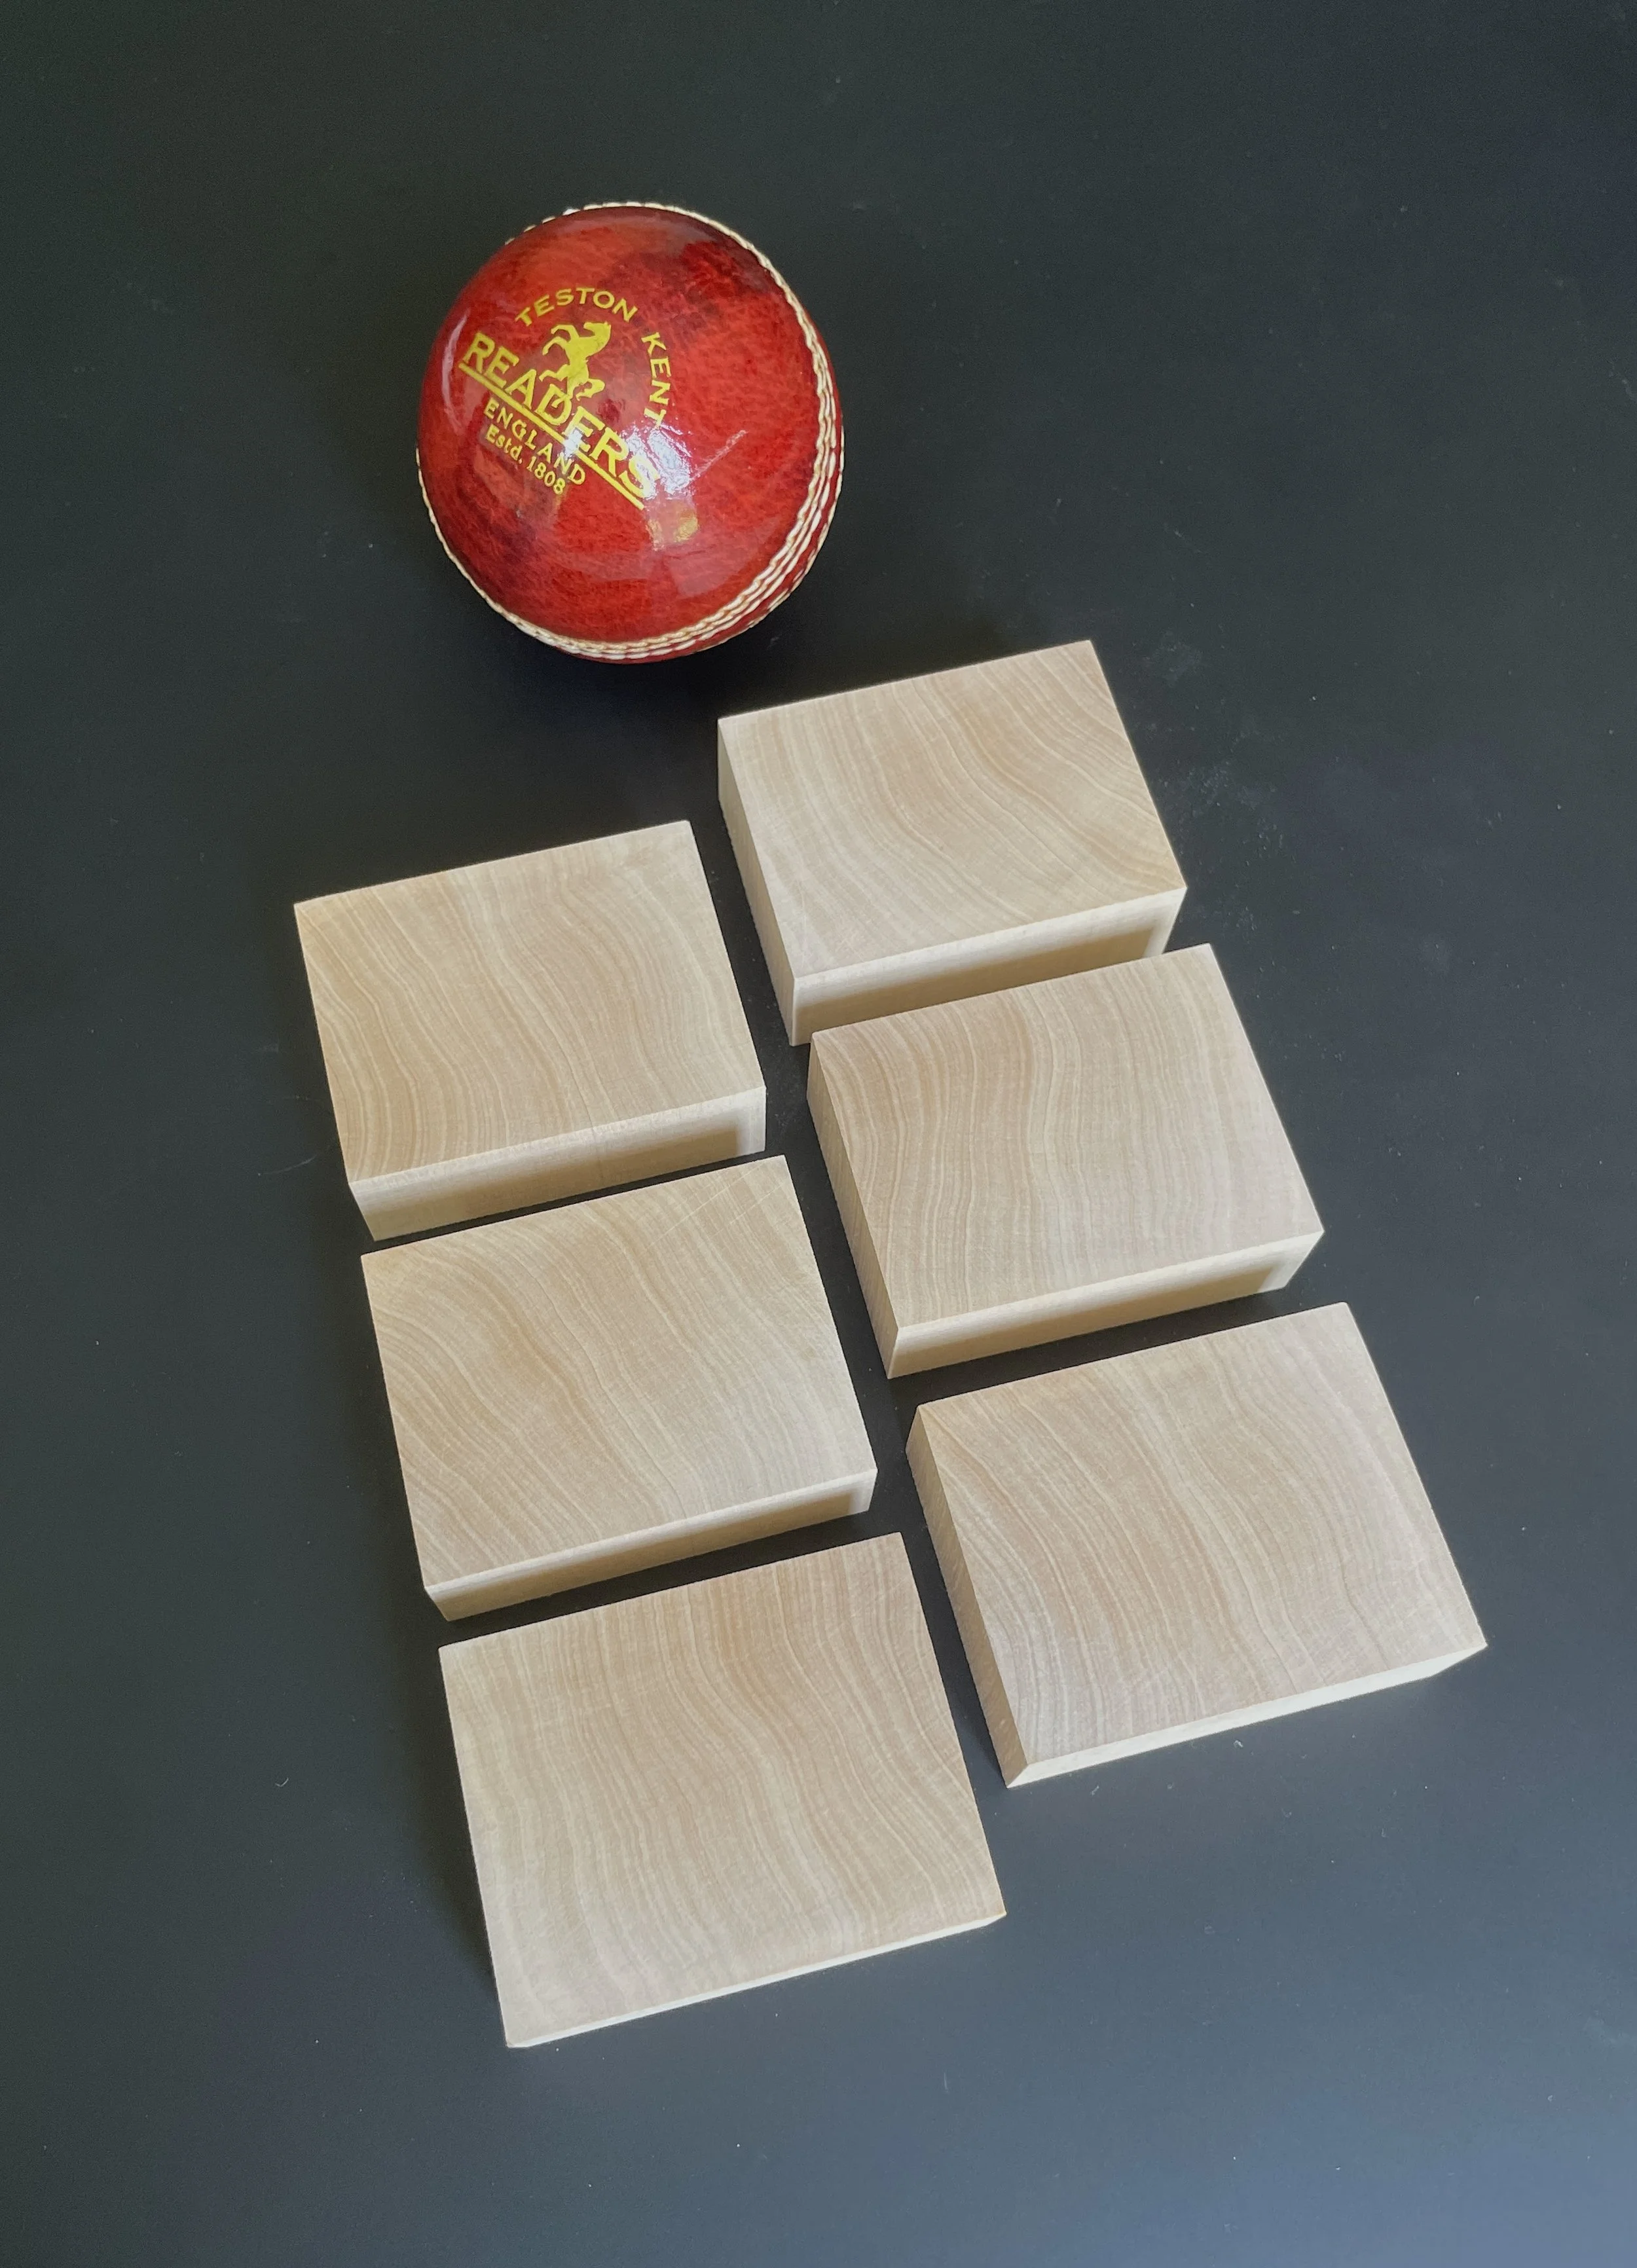
Six layers from six blocks (with cricket ball for scale) should be more than enough to create some rich detail. It could be done with fewer blocks by reduction engraving and printing. There are benefits to this approach, but also very significant costs. A discussion for later.
Two things I must think about for the next step:
what to leave out, practically and compositionally
registration - how to align each block with the paper so that successive printed layers are superimposed accurately